
Setting up an iPhone or iPad for your child

Level: Easy
Here we cover the steps you can follow to set up a new iPhone or iPad and can also be used in the event the device needs to be reset.
Pre-steps
Reset the device (Optional)
Mostly I like to reset the phone and not restore it from a backup unless I absolutely need to. The downside is that you need to manually configure settings and
1. Backup the Device

If you need you messages saved as well, be sure to enable Messages under iCloud
Before resetting the device be sure to back up what you need. There are two options:
Use iCloud storage: just be aware that you get 5GB free. If your storage needs are more than that then you can purchase more storage
orConnect to a home computer and back up to the computer using iTunes
2. Reset the Device
Ensure your child has an Apple ID
Configure an Apple ID for your child
As part of this, you will need an email account
Device initial setup
Once you reset the device you will be prompted for various information and settings. Follow the steps as instructed, I’ve also included more information below on the important stages of the setup.

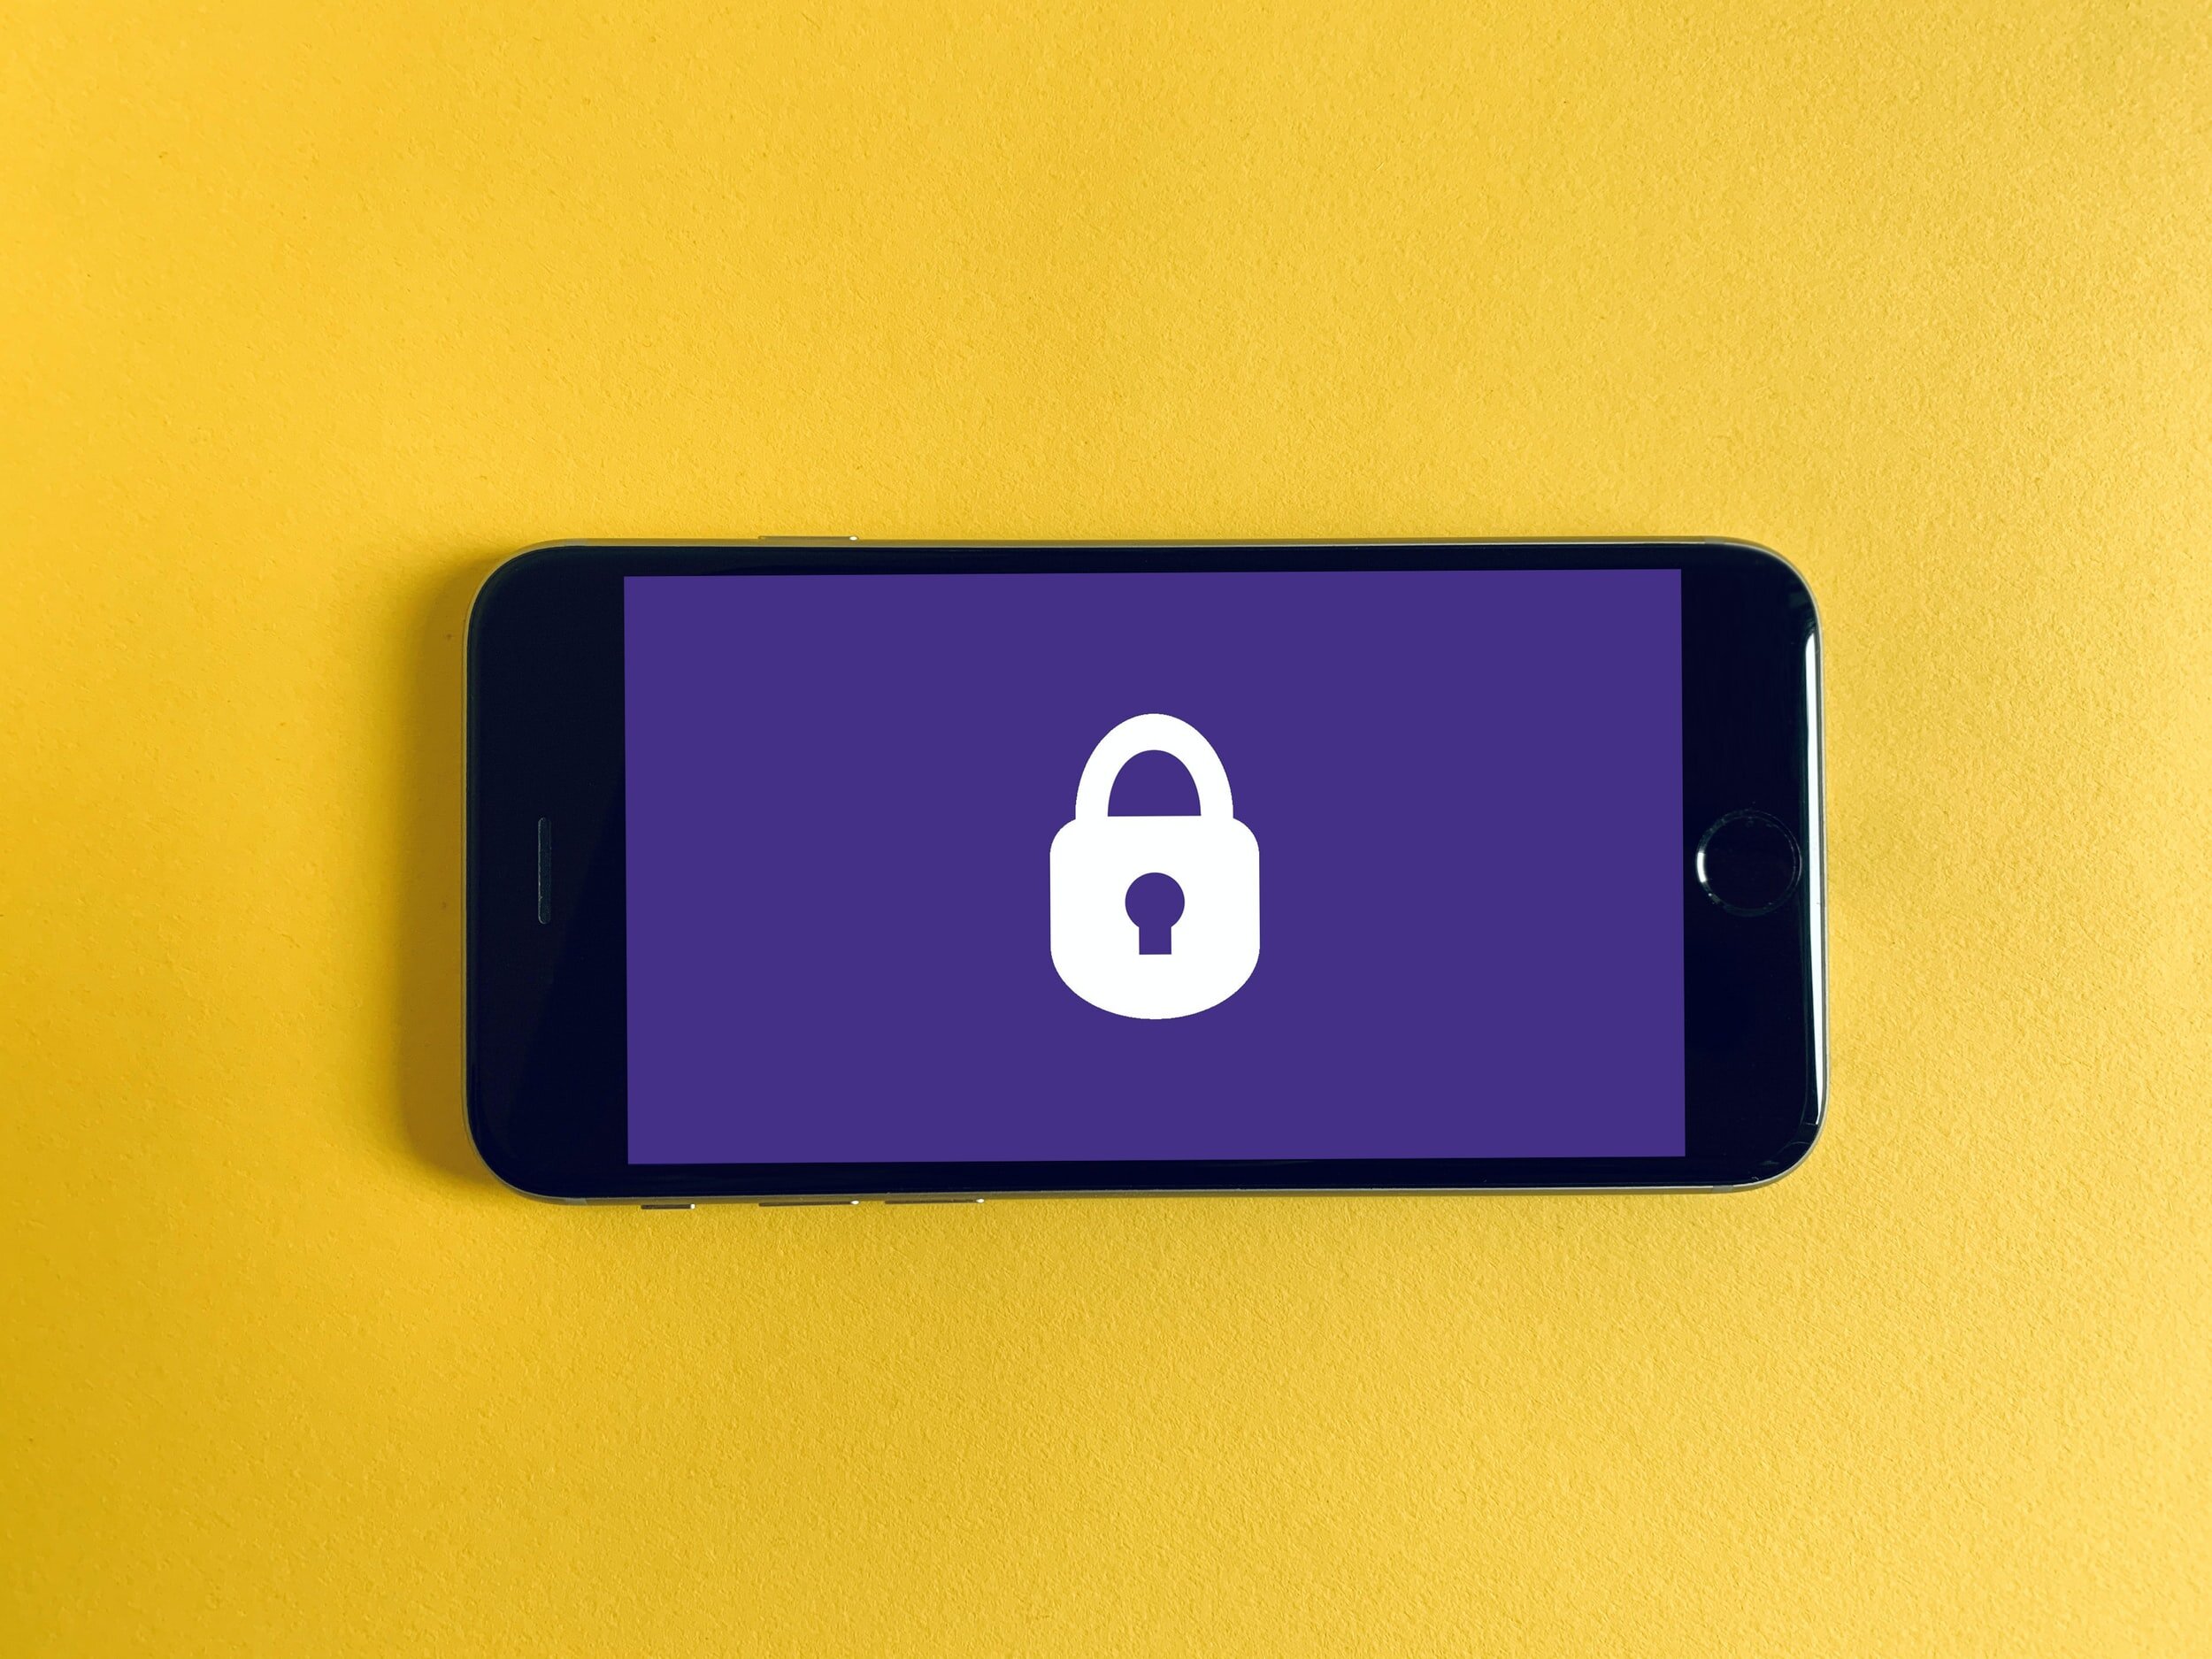
Set up Face ID or Touch ID and create a passcode
This is highly recommended to ensure the content of the device is kept safe.
Turn on automatic updates
Ensures your phone has the latest updates which include important improvements, fixes and security updates
Set up Screen Time
Screen Time gives you insight into how much time you and your kids spend on your devices
I recommend skipping this for now and setting up as a post step
Post setup steps
After following the standard Apple setup, you will be able to start using your device. This section covers other things you should consider to complete the setup.
1. Decide whether to use iCloud Backup
With iCloud Backup, iCloud automatically backs up your device. To find out what is backed up refer to “What does iCloud back up?”. This does count towards your storage plan and with only 5GB, this can fill very quickly. Depending on how you want to consume the paid service, you might want to either purchase additional storage or disable iCloud backups.
Note: If you decide to turn off iCloud backup you will need to periodically manually backup your device to a computer.
2. Enable Find my device
Enabling find my phone is very useful for tracking down the location of your children and also any device you may have misplaced.
Refer to “Set up Find My on your iPhone, iPad, iPod touch or Mac“
To have the location of your device sent to Apple when the battery is low, turn on Send Last Location.
3. Setup iCloud Settings
To conserve space you can decide to uncheck “iCloud Photos” which will prevent your iCloud photos from uploaded and consuming your storage.
Note: you will need to manually back up your photos and there is the risk of loosing photos in the event of an issue with your phone.
Refer to “Set up iCloud on your iPhone, iPad, or iPod touch”
You should be conscious of the ecosystem you have when choosing which options you should select here.
4. Add additional accounts
In the event that you have a mixed ecosystem, you will need to add additional accounts e.g. Google
5. Setup device restrictions
Select Settings —> Restrictions
Click “Enable Restrictions”
Enter a passcode. Ensure the passcode is not known to your child (Note: you will need your restrictions password if you ever want to reset your iPhone/iPad).
iTunes and App Store Purchases
In-app Purchases = Don’t Allow
Password Settings = Always Require (Extra caution when purchasing apps)
Content Restrictions
Ratings for = Select Your Country
Music, Podcasts News = Clean (Explicit is the default, Disabling it changes it to Clean)
Movies = Select the appropriate level for your child, depending on the rating for your country this will change
TV Shows = Select the appropriate level for your child, depending on the rating for your country this will change
Books = (Explicit Sexual Content is the default, Disabling it changes it to Restricted)
Apps = Select the appropriate level for your child, depending on the rating for your country this will change
Web Content = Limit Adult Websites
Siri = (Explicit Language is the default, Disabling it changes it to Restricted)
6. Two-factor authentication for Apple ID
As per Apple:
Forgotten the passcode on your iPhone, or your iPhone is disabled
Two-factor authentication is an extra layer of security for your Apple ID and is designed to ensure that you're the only person who can access your account, even if someone else knows your password.
This is very important to ensure your Apple ID is protected in the event is compromised.
Refer to “Two-factor authentication for Apple ID”
Recommended: If your child has his/her own phone number you can use that number as the trusted phone number.
7. Install the default Browser
If you have decided on using a different browser than Safari you can install that browser. There are now also various kids friendly browser on the market as well.
Browse to the App Store and install the browser app
8. Set up Screen Time
Refer to “Use Screen Time on your iPhone, iPad or iPod touch”
Be sure to also:
Select “Share across devices”
At some point, you will be asked to create and store a passcode. I recommend using your password manager if you have one.
9. Install the Password Manager
If your child is old enough you can install your chosen password manager and configure it for his/her use
Refer to the web site of the password manager software for instructions